
Follow this guide to solve problems accessing shared folders from your Windows 98 environments (either real or virtualized with VirtualBox, 86box, etc) to shared folders in Windows XP/7, Windows 8.1, Windows 10/11, etc.
Symptoms
Networked or host PC don’t appear in your Windows 98 Network Neighborhood, or you receive any of these messages trying to list the network shared folders:
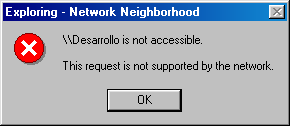
This request is not supported by the network
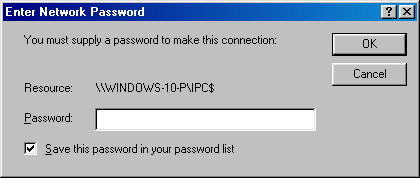
You must supply a password to make this connection
Causes & Resolutions
There are endless causes for file sharing issues with the SMB protocol in Windows. Here are the most commons issues with their corresponding solutions.
Advanced sharing settings misconfigured
On the host/server Windows machine, go to Network and Sharing Center > Change advanced sharing settings and enable Turn on network discovery and Turn on file and printer sharing for your current profile.
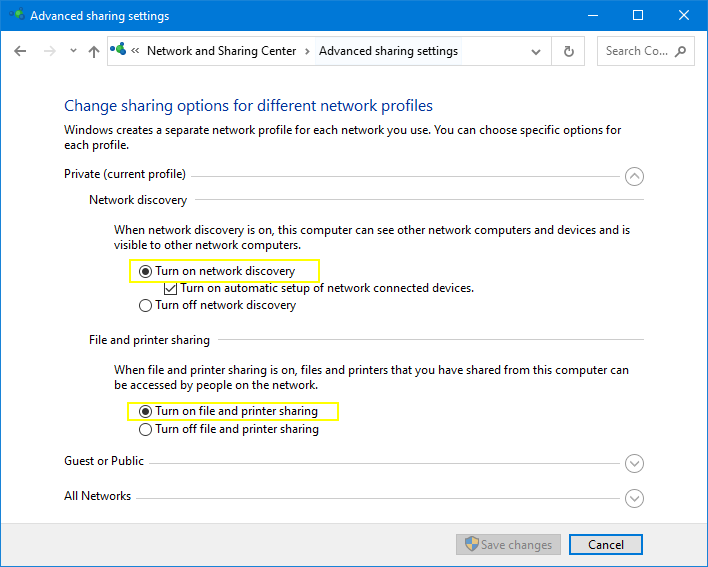
Advanced sharing settings for current profile
NTLM 2 authentication support not installed
The NTLMv2 networking authentication was added on Windows 2000. To add support for Windows 98, install the Active Directory Services Client Extensions for Windows 95/98 which can be obtained from:
- Windows 2000 CD-ROM:
dsclient.exeversion 5.0.2920.0: Avoid this version which features lots of known bugs that have been later fixed. - Unofficial Windows 98 SE Service Pack 3: dsclient.exe version 5.0.2920.5: This version fixes all known bugs and was released in Windows Update as KB323455.
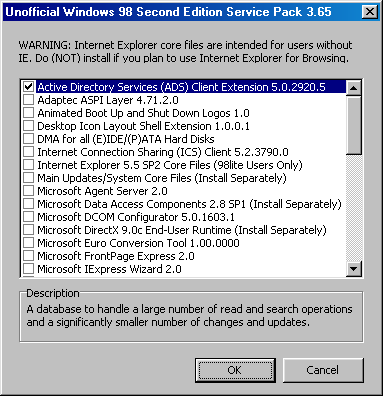
Unofficial Windows 98 SE SP3 setup program.
DUN 1.4 not installed on Windows 98
This update for Dial-Up Networking adds the ability to encrypt dial-up and Point to Point Tunneling Protocol (PPTP) traffic by using 128-bit keys. After you install this upgrade, a Windows 98 Second Edition computer can establish either 40-bit or 128-bit encrypted sessions by using Microsoft Point to Point Encryption.
Download an archived copy of DUN 1.4 Update for: Windows 98SE / Windows 98 / Windows 95
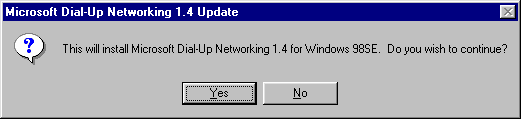
Microsoft Dial-Up Networking 1.4 Update
No user account password on Windows 98
Make sure you have created a user account with a valid password from Control Panel > Users. This will enable browsing the local network and connecting to shared folders. You’ll be asked for a password before loading the desktop.
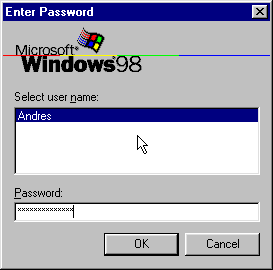
Windows 98 Enter Password dialog
SMB1 support not installed on Windows 10 host/server
Since Windows 10, the required SMB v1.0 support for Windows 9x/2000/XP is no longer preinstalled. To enable it, go to classic Control Panel > Programs and Features > Turn Windows features on/off and check SMB v1.0/CIFS File Sharing Support.
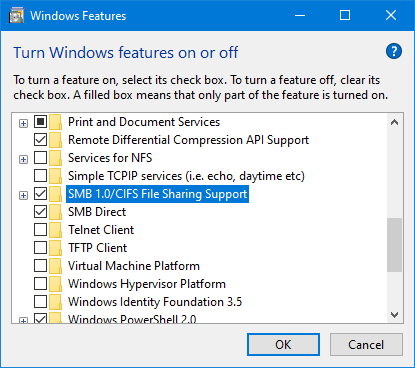
SMB 1.0/CIFS File Sharing Support
It is recommended to restart both client and server computers after this change.
The following table shows the different SMB versions preinstalled by default with each Windows version.
| Protocol Version | First Client Version | First Server Version |
|---|---|---|
| SMB 1.0 | Windows 95/98/XP | Windows Server 2003 |
| SMB 2.0 | Windows Vista | Windows Server 2008 |
| SMB 2.1 | Windows 7 | Windows Server 2008R2 |
| SMB 3.0 | Windows 8 | Windows Server 2012 |
SMB1 support disabled on Windows 10/11 host/server
Start Windows Power Shell in the host/server computer (Windows 8.1/10/11, or Windows Server 2019/2016/2012R2) and run this command to enable SMB v1.0 client and server:
Enable-WindowsOptionalFeature -Online -FeatureName smb1protocol
This option is highly unlikely to be disabled unless you’ve manually disabled it earlier. Restart the host/server computer after applying this change.
LAN Manager authentication level mismatch
After the NTLMv2 support is installed, you must configure both client and server/host computers to accept the same LAN Manager authentication level as follows:
On the Windows 9x client:
- Start Registry Editor. To do this, click Start, click Run, type Regedit, and press ENTER.
- Locate and then click following registry subkey:
- HKEY_LOCAL_MACHINE\System\CurrentControlSet\Control\LSA
- Locate the LmCompatibility registry value. If the value is not present, create a new DWORD value for it.
- Set the DWORD value to 3.
- Exit Registry Editor, and restart the computer.
On the Windows 10 server/host:
- Go to classic Control Panel > Administrative Tools > Local Security Policy
- Browse to the Local Policies > Security Options
- Locate the Network security: edit the LAN Manager authentication level item
- Select the Send NTLMv2 responses only value. This option corresponds to the LmCompatibility of 3 previously set in Windows 9x.
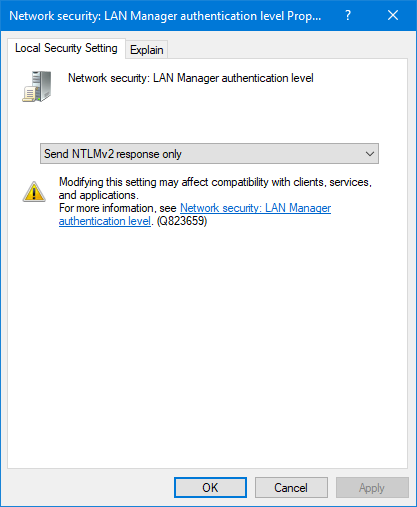
LAN Manager authentication level
It is recommended to restart both client and server computers after this change.
Incompatible Security Support Provider (SSP) settings
The SSP must be the same on both client and server computers to access SMB properly.
On the Windows 9x client:
Edit the registry as follows. If the MSV1_0 registry key and its values don’t exist, create them.
[HKEY_LOCAL_MACHINE \System \CurrentControlSet \Control \LSA \MSV1_0]
- NtlmMinClientSec = 0x00080000 (or decimal 524288)
- NtlmMinServerSec = 0x00080000 (or decimal 524288)
The hex value 0x00080000 means NTLM v2 session security. To also add 128-bit encryption (requires Internet Explorer 5.5 at least) use these value instead:
- NtlmMinClientSec = 0x20080000 (or decimal 537395200)
- NtlmMinServerSec = 0x20080000 (or decimal 537395200)
On the Windows 10 host/server:
Edit these options to match the Windows 9x values:
- Go to classic Control Panel > Administrative Tools > Local Security Policy
- Browse to the Local Policies > Security Options and configure these options:
- Network security: Minimum session security for NTLM SSP based (including secure RPC) clients: Require NTLMv2 session security
- Network security: Minimum session security for NTLM SSP based (including secure RPC) servers: Require NTLMv2 session security
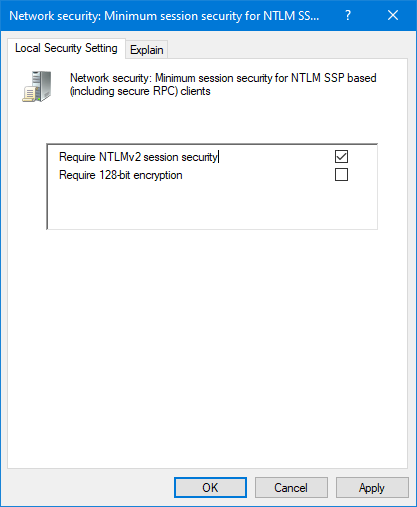
Minimum Session Security for NTLM SSP clients and servers
Incompatible SMB signing settings
To ensure your Windows 9x/2000/XP client computers can access shared folders from the Windows 10 host/server computer, SMB signing should be disabled as follows:
- Go to classic Control Panel > Administrative Tools > Local Security Policy
- Browse to the Local Policies > Security Options and configure these options:
- Microsoft network client: Digitally sign communications (always): Disabled
- Microsoft network client: Digitally sign communications (if server agrees): Disabled
- Microsoft network server: Digitally sign communications (always): Disabled
- Microsoft network server: Digitally sign communications (if client agrees): Disabled
Guest account network access blocked
By default, guest access to network resources is blocked in Windows 10. Since your Windows 9x client will be accesing as guest, you must remove the Guest account from the list of users blocked from accesing the computer from the network.
- Go to classic Control Panel > Administrative Tools > Local Security Policy
- Browse to the Local Policies > User Rights Assignment folder
- Select the Deny access to this computer from the network option
- Remove the Guest account from the list and click OK.
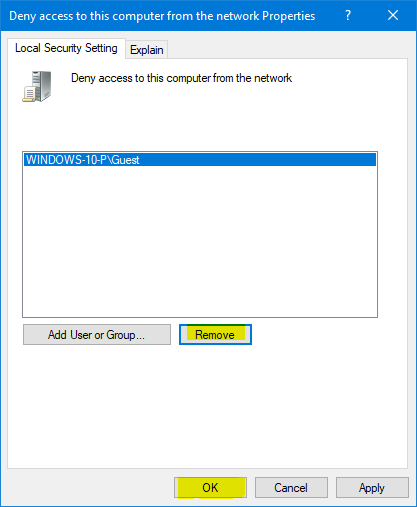
Deny access to this computer from the network: Remove the Guest account and click OK.
Fix “Unable to browse the network” error
If you can’t browse the network or the workgroup appears empty, this can be solved by enabling NetBIOS over TCP/IP in all computers from the network as folllows:
On the Windows 9x client:
- Go to Control Panel > Network
- Double click the TCP/IP protocol
- On the NetBIOS tab, enable the I want to use NetBIOS over TCP/IP option
On the Windows 10 host/server:
- Go to classic Control Panel > Network and Sharing center > Change Adapter Settings
- Right click the network connection and select Properties.
- Double click the TCP/IP v4 protocol.
- Click Advanced
- At the WINS tab, select Enable NetBIOS over TCP/IP.
- Repeat this process for the VirtualBox-created virtual adapter if needed.
If the workgroup remains inaccesible, try renaming the workgroup in all computers from the network. This option worked 100% in my network after trying everything else to no avail.
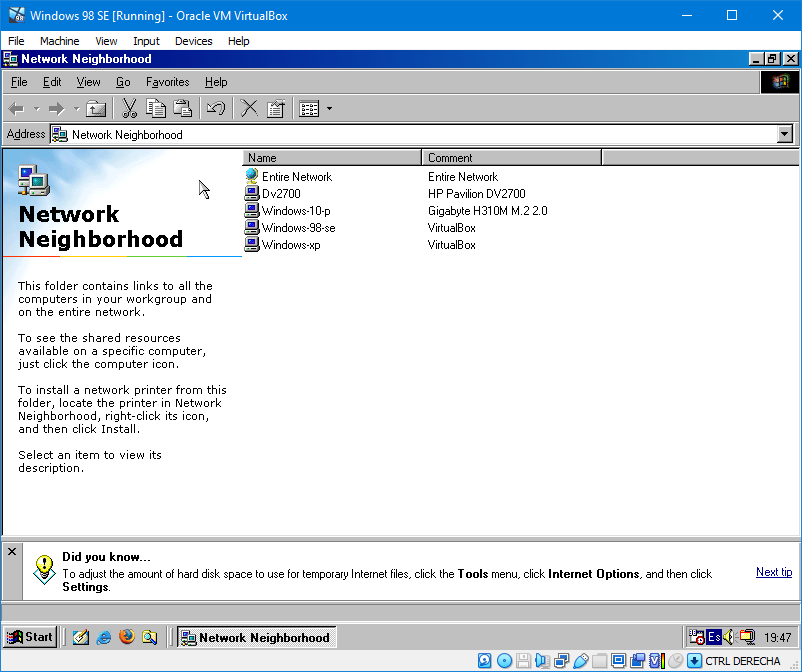
Windows 98 Network Neighborhood
Access shared folder in Windows 10 from Windows 9x
Listing all Windows 10 shares from a Windows 9x client is simply not supported and there’s no fix to that. To access a shared folder from Windows 9x you need to either:
Mount the shared folder as a network drive
This is the recommended option because Windows can automatically remount the shared folder on restart.
- Open Windows Explorer
- Right-click My Computer or Network Neighborhood
- Select Map network drive…
- Enter the location of the shared folder in the format in the format: \\COMPUTER-NAME\SHARED-FOLDER-NAME and click OK
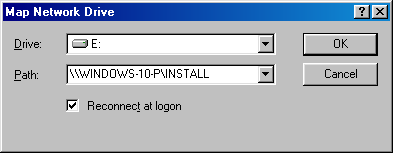
Map Network Drive in Windows 95/98
Manually access shared folder
- Open Windows Explorer
- Enter the location of the shared folder in the location bar in the format: \\COMPUTER-NAME\SHARED-FOLDER-NAME
- Press Enter and the folder will be accessed if everyting was configured properly.
- You can add this location to your favorites for easier access from the Favorites menu.
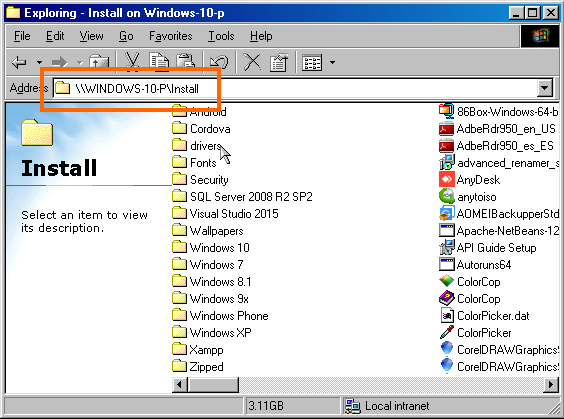
Manually access shared folder in Windows 98
VirtualBox Network Adapter settings
In order to access your network workgroup’s shared folders from a virtualized Windows environment, the network adapter should be set as Bridged Adapter using the host’s actual network adapter card.
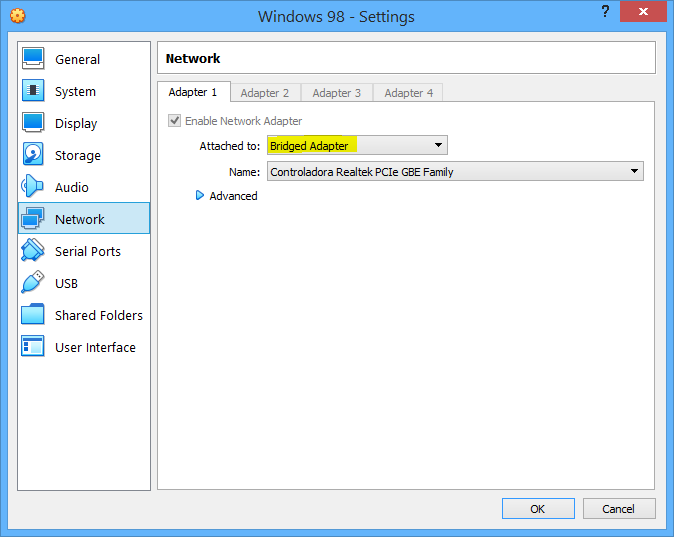
VirtualBox Windows 95-98 Network Adapter mode
Security Considerations
- In your Windows 10 computer avoid giving guest accounts Read and Write access to shared folders and enable Read access only.
- Always use NTLMv2 LAN manager autentication which is 100% supported in both Windows 95 and 98 after installing the required support files.
- Internet Explorer 6.0 SP1 is the last version you can install in Windows 98.
- Mozilla Firefox 2.0.0.20 is the last version you can install in Windows 98.
Disclaimer
The content in this post is for general information purposes only. The information is provided by the author and/or external sources and while we endeavour to keep the information up to date and correct, we make no representations or warranties of any kind, express or implied, about the completeness, accuracy, reliability, suitability or availability with respect to the website or the information, products, services, or related graphics contained on the post for any purpose. Some of the content and images used in this post may be copyrighted by their respective owners. The use of such materials is intended to be for educational and informational purposes only, and is not intended to infringe on the copyrights of any individuals or entities. If you believe that any content or images used here violate your copyright, please contact us and we will take appropriate measures to remove or attribute the material in question.